Homemade Marshmallows

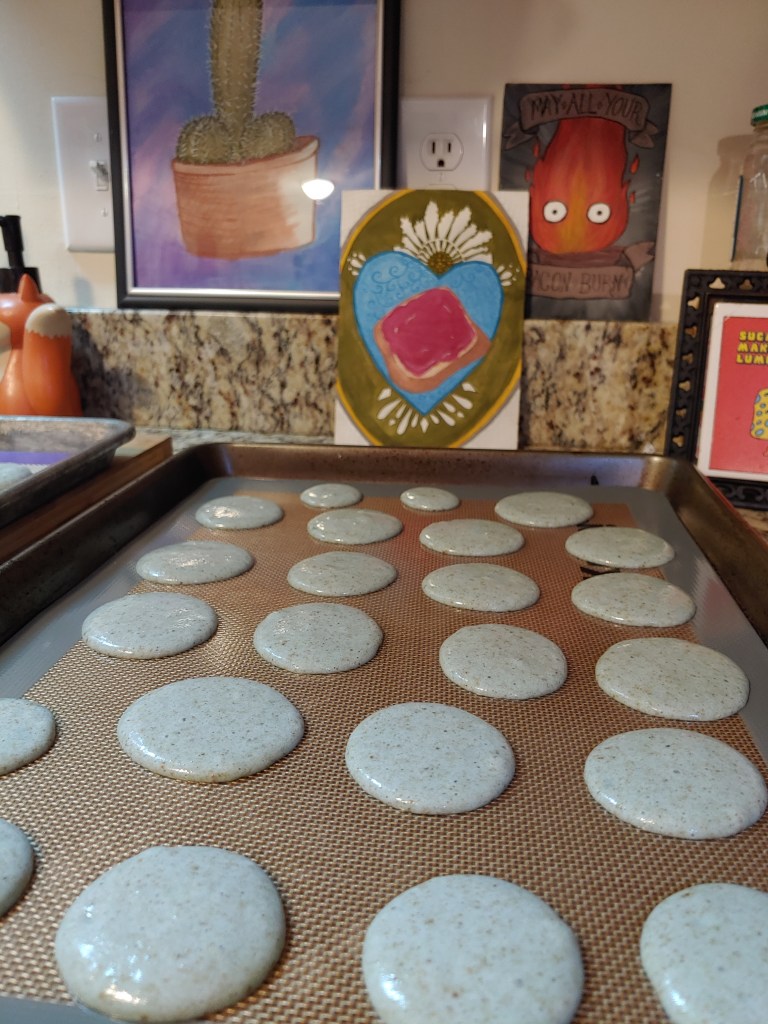
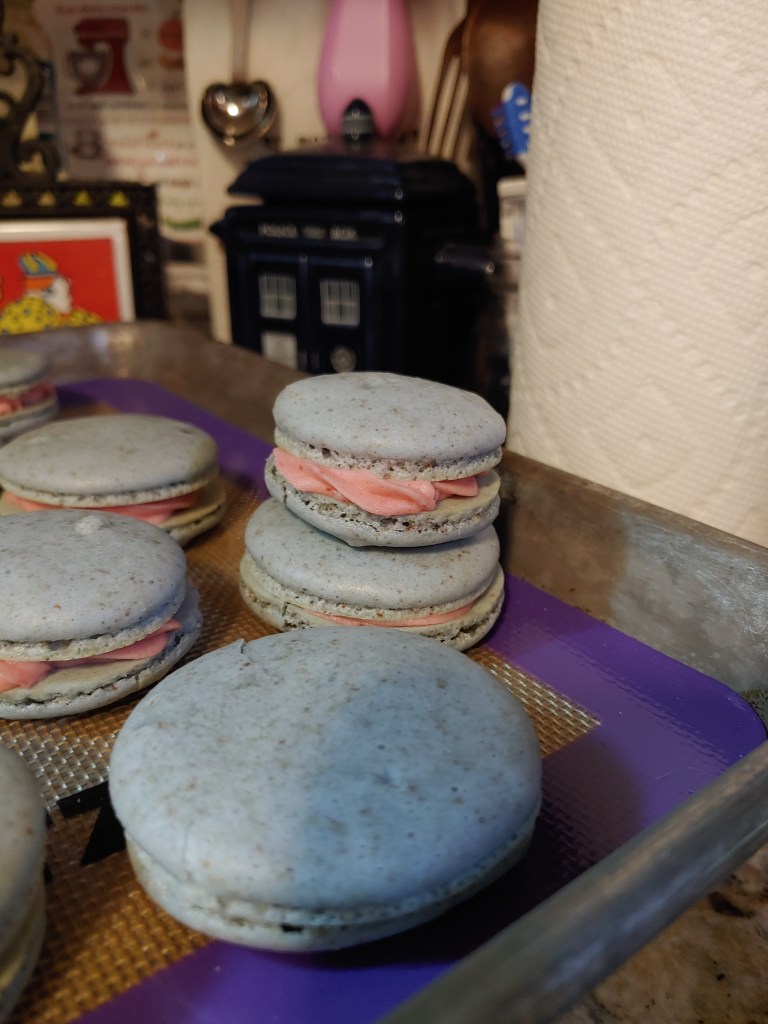
This is a very messy project. You’ve been warned..

Ingredients:

  • 2 1/2 Tbsp of gelatin (or 8 sheets)
  • 1 cup cold water(divided)
  • 2 cups of sugar
  • 1/3 cup corn syrup
  • 1/4 tsp salt
  • 1 tsp vanilla extract
  • 1/2 cup powdered sugar
  • 1/2 cup cornstarch

To start off, go ahead and mix your powdered sugar and cornstarch together and set to the side. You’ll use this throughout this daunting process.

First things first, get your gelatin going. Having used the sheets for the first time here..I recommend probably going with the basic ass powdered gelatin. Combine your gelatin with 1/2 cup cold water and let it soften for at least 15 minutes. Put this directly in your stand mixer with the whisk attachment but don’t whisk it just yet.

Grab a small saucepan and add the other 1/2 cup water. Make sure when adding your sugar, you add it to the direct center of your pan. Do it slowly so you’re not splashing about. You want to avoid getting the sugar on the sides of your pan so you don’t end up with grainy marshmallows. I don’t care what you think, but peeps are disgusting. Also add in the corn syrup and salt. DO NOT STIR. Seriously, put the spoon down. If you’re feeling antsy, you may swirl the pan gently. Thats all you get though.

Bring to a boil but don’t let it bubble over. You want to get your mixture to 240 degrees F. Once this temperature is reached, remove from heat. At this point, your gelatin should be good to go. Turn your mixer on low to break up the gelatin. Then slowly (seriously, SLOWLY) add your liquid hot magma of sugar syrup into the gelatin. Try not to just pour it down the side of the bowl but don’t pour it on the whisk either..I promise there’s a happy medium here.

Once the syrup is all added, increase your mixer speed to high and continue to whip the devil out of it for at least 10 minutes. Around the 10 minute mark, add in your vanilla. You can feel the sides of your mixer bowl to know when its getting close as well. You’ll want it to be thick and fluffy, and warm but not remotely hot.

Instead of just standing around while your mixer does all the work, use this time to prepare your pan. Spray a metal pan (9×13 would work beautifully) liberally with cooking spray. Then take your powdered sugar mixture and sprinkle your pan with it so that you can coat all the sides well. (Don’t use all of your powdered sugar, you still need this.)

Once your marshmallow fluff is all fluffy, you’ll want to work fast to get it all out of your mixing bowl and into your prepared pan. You won’t be able to get your bowl completely cleaned out. Seriously, you won’t. Just do your best. Now that your mixture is in the pan, just tap it on the counter to even it out a bit and sprinkle with more of your powdered sugar mix.

Leave it out on the counter to sit at room temperature for at least 4 hours. Go put your feet up..or maybe start cleaning some dishes..I know you’ve made a mess.

Lets start this party by dusting your clean counter/work area with, you guessed it, more powdered sugar mix. Turn out your marshmallows onto your dusty surface (heh) This may take some coaxing. I had to scrape that sugar loaf out. You can spray your knife with cooking spray, though I don’t think this really made any difference at all. Its going to stick regardless. As you cut up your marshmallows, toss them in your remaining powdered sugar mixture. Store in an air tight container once well dusted. They’ll keep easily for a week or two..unless you eat them.

That’s it! Its quite an undertaking, but the results speak for themselves. You will have a super messy kitchen, but you’ll also have these soft little pillows of happiness that taste nothing like store bought marshmallows.

French Fucking Macarons

Learn from my mistakes please.. This was a trial by fire but we made it out alive. Just do yourself a favor and buy almond flour…

Ingredients

Macarons

  • 100 grams egg whites
  • 50 grams granulated sugar
  • 200 grams powdered sugar
  • 110 grams almond flour
  • 1/4 teaspoon cream of tartar
  • pinch of salt

Buttercream

  • 1/2 cup butter
  • 1 1/2 cup powdered sugar
  • optional: 2 teaspoons of homemade raspberry jam (or literally whatever flavoring you want)

Step 1: Assemble all of your essentials. Silpat or Silicone baking mat..or two. and get your scale ready and set for grams. You could theoretically make this with american measurements, but I’m personally going with the “if it ain’t broke” method and weighing everything out..when in Rome and all that

Beat your egg whites until foamy. Gradually add in your granulated sugar, cream of tartar, and pinch of salt and then beat until glossy, fluffy, and holding soft peaks. At this point, I added the coloring as well.

Sift together powdered sugar and almond flour

Gradually fold into your egg whites..as few strokes as possible to avoid deflating your mixture

Now this is where is got a little dicey for me..you want to incorporate it in as few strokes as possible but you also want it to be mixed well enough that it will flatten down into itself…so…just play with it and hope for the best

Put your mixture into a piping bag with a regular round piping tip..or if you’re fancy..a large ziploc with the end snipped off 🙂

I recommend keeping your sploops of batter fairly small…1 1/2 inch diameter-ish. The smaller ones definitely seemed to work a lot better.

After you’ve piped out all of your batter, put your baking sheets in a semi warm, non drafty area to sit for an hour. Your macarons need to dry and form a skin. You’ll know they’re good to go if you can lightly touch them and not have your finger stick.

Preheat your oven to 285F

Bake for 10 min. They should be set but not browned.

Once they’re done, put them on a cooking rack to cool completely. Don’t try to peel them off immediately..you’ll regret it. Once they are COMPLETELY cooled, gently..GENTLY pry them off your baking mat. About half of mine got jacked up because I made them way too big. But you know what? They still tasted the same.

Make your buttercream by creaming together your butter and powdered sugar. Add in your flavoring (jam in my case) and voila!

Pipe your buttercream on your macarons and make lil sandwiches. Easiest part of the whole process!

Don’t come for my sizing hahaha Do as I say..not as I do.
As you can see, the little ones did the best. The little ridged part at the bottom is what you want to see. Letting them sit and dry is essential to form the “foot”

Fresh Ginger Cookies

Ingredients

  • 2 1/4 cup AP Flour
  • 1 teaspoon Baking Soda
  • 1/2 teaspoon Salt
  • 2 Tablespoons Fresh Grated Ginger
  • 3/4 cup Butter (softened)
  • 1 cup Sugar
  • 1/4 cup Molasses
  • 1 egg

In a separate bowl, combine your flour, baking soda, and salt. Set aside

Peel and grate your fresh ginger and add it into the bowl with your butter and sugar. Beat until fluffy.

Add in your molasses and egg and beat until combined.

Add in half of your dry ingredients and beat until combined. Add the rest and then just mix until just combined. (I’d do this by hand)

Put about 1/2-3/4 cup of sugar in a bowl. This is additional sugar. Don’t Panic! I didn’t add it into the initial list of ingredients. Form about 1/2 sized balls of dough and then roll it in sugar before placing on a cookie sheet.

I recommend using parchment paper because I’m lazy as fuck..and its super easy.

So, line your cookie sheet, and place your balls about 2 inches apart. . The cookies..keep your mind out of the gutter.

Okay..back on subject. Bake for about 15 minutes and let them cool for about a minute on the cookie sheet before transferring them to a cooking rack.

This are super duper yummy and easy to make. I personally really love the bite of fresh ginger so you could add a little more than the recommended 2 tablespoons if you like and I think they’d still be delicious. Just make sure to let your friends and family know there is fresh ginger in there since it kinda looks like hair…..

Basic AF Bread

Preheat oven to 175 (unless its nice and warm in your house)

Ingredients

  • 2 cups warm water
  • 1 1/2 Tablespoons instant (because I’m impatient) active dry yeast
  • 2/3 cup of sugar
  • 1 1/2 Tablespoons of salt
  • 1/4 cup oil (I use canola)
  • 6 cups All-Purpose Flour

Put your warm water in your mixer (or your bowl if you don’t have a stand mixer) add your yeast and your sugar and let sit for about 5 min.

Once your water/yeast mixture is all foamy, add your salt and oil and mix.

Add your flour one cup at a time, making sure to incorporate in between additions.

Then mix until the dough is smooth.

Oil a large mixing bowl and then scrape your dough out into your oiled bowl and toss around to coat it. Cover with a damp kitchen towel and place in your preheated (to 175 and then turned off) oven and let rise for an hour.

After an hour, your dough should have roughly doubled. Punch down its hopes and dreams and then divide into two greased loaf pans. Cover your loaf pans with your damp kitchen towel and let rise again for another hour.

Preheat oven to 350F

Once your loaves have risen, bake for 30 minutes.

That’s it. You’re done. Pop those bad boys out of your pans and let them cool completely. You can leave them out overnight to cool, if like me, you started doing this process in the evening and now you’re so damn tired the thought of staying up another hour makes you want to take a nap on the floor.. Where was I? After they’re cooled, you can simply wrap them in tin foil. Or whatever your preferred method of bread- keeping is.

Victoria Sandwich

I’ll preface this recipe with the apology that I do not have a recipe for the jam. While mine turned out excellent it was also trial and error and of course, I did not write it down.

Preheat oven to 350F

Ingredients Needed:

Cake

  • 2 1/4 cup butter – softened
  • 1 1/2 cup sugar
  • 6 eggs
  • 2 1/4 cup flour
  • 2 tsp vanilla
  • 2 tsp baking powder
  • 6 tablespoons milk

Buttercream

  • 1/2 cup butter – softened
  • 1/2 cup powdered sugar
  • 1/2 tsp vanilla

Store-bought or homemade raspberry jam

Start by creaming together the butter and sugar and gradually add your eggs. This is a pretty no-frills recipe so no need to separate everything out. Just add your flour, baking powder, vanilla, and milk next and mix until everything is fully incorporated.

Make sure you grease 2 – 8 inch round cake pans thoroughly and cut out a circle of parchment paper for the bottom of the pan

Evenly split the batter between the 2 pans and bake for 25 minutes, but depending on your oven, it may take up to 30. (Make sure that a toothpick inserted into the middle comes out clean or at least mostly clean with few crumbs.)

Let your cakes cool in the pan for about 10 minutes and then run a butter knife around the edges before turning them out of the pan. They should come out nice and clean, as long as you weren’t stingy on the greasing step 🙂

For the buttercream, simply mix your softened butter, powdered sugar, and vanilla until smooth. This recipe doesn’t make a lot, nor is this a super sweet buttercream. Its honestly perfect for this cake because you don’t want to overload it with diabeetus inducing sweetness.

When you’re ready to assemble your cake, choose the smoothest looking one for the top layer. This doesn’t matter a whole lot since you’re going to hide your sins with a dusting of powdered sugar, but humor me.

For the bottom layer, if you wish to, you may take a serrated knife and level off the top before adding your buttercream and jam. *also, then you get yummy little cake scraps that no one needs to know about but you*

When I assembled mine, I had planned to pipe on the buttercream so I put the jam on first and it was a bit of a mess. So, learn from my mistakes: put the buttercream down first. Then spread your jam on top of that and place your top layer of cake on top of all that delicious filling.

If you wish to do so, like I did 😉 you may put a stencil on top of your cake before sifting the powdered sugar over it. Totally optional, but also a total missed opportunity if you don’t 🙂

This is a super simple and easy to make cake and SUPER yummy. I mean, with so much damn butter, it better be!

I made this cake for my favorite (now former) co-worker. Thanks for believing in me and always eating my creations – no matter how lackluster they may turn out!

https://www.youtube.com/watch?v=FWTY1hTpW-E

Caramel Apple Cupcakes

Ingredients Needed

Preheat oven to 350 F

Cupcakes

  • 1 1/2 Cups All-Purpose Flour
  • 1 tsp baking powder
  • 1 1/2 tsp cinnamon
  • 1/2 tsp salt
  • 1/2 cup melted butter
  • 1 cup sugar
  • 4 eggs
  • 1 tsp vanilla
  • 3/4 cup buttermilk
  • mix about 1/2 tsp of sugar with 1/4 tsp of cinnamon and set aside

Filling

  • 1 med green apple (or any other tart apple)
  • 1/4 cup brown sugar
  • 1/2 small lemon
  • 1/8 tsp cinnamon
  • 1/2 tsp corn starch

Buttercream

  • 1 cup butter softened
  • 2 cup powdered sugar
  • 2 tsp cream
  • 1/2 – 2/3 cup caramel + extra for drizzle

I’ve always hated when I’m trying to find a recipe and have to scroll and scroll and scroll to find it. So, there ya go! Right up top 🙂

  • Start by whisking your flour, baking powder, cinnamon and salt together – set aside
  • Beat butter and sugar until creamed
  • add eggs one at a time, making sure they’re incorporated before adding the next
  • add vanilla
  • Alternate adding flour mixture and buttermilk (should take roughly 3 installments)

Don’t overmix. Fill your lined cupcake tray about 2/3 full. Sprinkle the cinnamon/sugar mixture over your unbaked cupcakes

Bake for 15-20 min (check around 12 min)

While your cupcakes are baking, start by dicing up your peeled and cored apple

  • In a pan, combine diced apple, brown sugar, and lemon juice ( you may adjust sugar and lemon amounts by taste)
  • when apples start to get soft, use a potato masher to squish them down to an almost applesauce consistency( think chunky applesauce)
  • add cornstarch to thicken

Bring to a boil and simmer for 15 min

The buttercream is just a basic buttercream recipe. No frills.

  • Cream together butter and powdered sugar
  • add cream
  • Slowly add caramel and taste as you go

You can use homemade or store bought caramel sauce. I personally just used store bought because we had it in the house and what else was I going to use it for?

For the drizzle, I used roughly 1/4 cup of the caramel sauce and added salt to taste. Heat it in the microwave for 10-15 second bursts so that the salt will melt. Put as much or as little on top of the cupcakes as you like. You can also omit this step completely if you prefer.

Thats it! If you make this, let me know how it goes 🙂

https://www.youtube.com/watch?v=bKRSwaz7J4E&t=31s