▢1 cup golden syrup or light molasses or corn syrup
▢2 ¼ cups fresh bread crumbs
▢Grated zest and juice of 1 lemon
▢1 egg beaten with 1 tablespoon water, for brushing over the crust
Instructions
▢For the crust, place the flour, confectioner’s sugar, and salt in the bowl of a food processor and pulse to combine. Scatter the pieces of butter over the flour mixture. Pulse until the mixture resembles coarse yellow meal without any white powdery bits remaining, about 20 pulses. Transfer the mixture to a large mixing bowl. Beat the egg yolks with the cream and vanilla and pour them into the flour-butter mixture. Toss with a spatula until the dough clumps together. If the dough is dry, add 1 more tablespoon heavy cream (better too wet than too dry). Divide the dough in half, form into disks, wrap in plastic wrap, and chill at least 2 hours or up to 3 days.
▢Just before you are ready to roll out the dough, prepare the filling. Warm the golden syrup in a saucepan until it is runny, or microwave it for 1 minute. Combine the golden syrup, bread crumbs, lemon zest, and lemon juice in a mixing bowl and mix well.
▢Preheat the oven to 400F. Remove the dough from the refrigerator. On a floured surface, roll out the larger disk to an 11-inch circle. Fold it into quarters, brush off the excess flour with a pastry brush after each fold, then unfold it into a 9-inch tart pan, easing the sides gently into the pan and pressing the dough into the fluted edges. Trim the dough even with the rim. Roll out the second disk 1/8-inch thick. Cut the dough in long strips for the lattice topping.
▢Scrape the filling into the prepared crust and smooth the top with a rubber spatula. Lay half the strips of dough over the filling in one direction and the other half in the opposite direction to form a lattice. Trim the overhang. Gently brush the beaten egg over the lattice.
▢Bake for 10 minutes, then reduce the temperature to 375F and bake another 25 minutes until the crust is browned and the filling puffs up in the center. Serve warm with custard or whipped cream.
These are not a 1 day make, allow for at least 2 or start in the morning.
Ingredients:
Meatballs
8 T butter (unsalted)
1 cup AP flour
3 cups beef broth
2 T parsley
1 small onion minced
1 lb ground beef
1/2 t salt
1 t black pepper
1/4 t nutmeg
Breading
1/2 cup AP flour
3 eggs (beaten)
1 cup panko breadcrumbs
+ vegetable oil for frying
Melt butter over medium high heat in a large skillet. Once melted, add your flour little by little, whisking until a thick paste forms. Slowly stir/whisk in the beef broth, making sure to stir thoroughly. You want all of the broth incorporated in your roux (pay special attention to the sides of your pan) Your gravy will be smooth and get quite thick. Simmer for a couple minutes and add your parsley, onion, and raw ground beef. Stir well, season with salt, pepper, and nutmeg. Adjust seasoning as needed. This will look all sorts of wrong and frankly disgusting. It is what it is.
Transfer your meat/gravy mixture to a tupperware container and refrigerate overnight or until it has solidified (4 hours probably)
⭐⭐ It’s worth noting at this point that I refrigerated mine overnight and it was still not solidified..however I think that’s because I opted to use the lean ground beef instead of 80/20. I think the higher fat content would have made it tighten up better. ⭐⭐
Assuming your mixture is solidified, line a baking sheet with parchment paper. Put flour in a plate, bread crumbs in another, and your eggs in a pie pan. Shape meat mixture into 1 inch balls and place on baking sheet. Roll in flour, then eggs, and then bread crumbs. Repeat for all and then place pan in fridge while your oil heats. You want your oil to be about 375F
Fry 5 meatballs at a time until they’re golden brown. This will take about 4-5 minutes. If you have enough oil in your pan, the meatballs will actually float when they’re done. Drain and repeat until you’ve cooked them all.
I learned quite a bit while making this. Mainly I learned that I fucking hate frying things. Well, breading and frying. Fuck that. I hate it. It’s messy and to me, just not worth it. Not to say that these weren’t good, because I think they were quite delicious. I just don’t think they were worth it.
This goes super quickly if you use a food processor for the crust. Put your flour, sugar, and salt in and add your cold butter in chunks. Pulse until the butter is in small pieces..about 8 times. Slowly add your cold water and pulse until the dough starts to come together. (It will still be a little crumbly but should hold its shape if you press it together)
Wrap your dough in plastic wrap and pat into a disc. Refrigerate for at least an hour.
While your dough is chilling, work on the filling. HA wow..unintentional rhyme 😅
Using a hand mixer or stand mixer, cream together your butter and sugar. Add eggs one at a time, mixing well between each. Add maple syrup, salt, and vanilla. This will look…well, frankly it will look curdled. Its not, I promise. It makes everything easier if you put your filling in a large glass measuring cup with a pour spout for later. If you make the filling and let it sit for a while until you’re ready to use it, you’ll need to give it a good whisk before using it.
Preheat oven to 350F
Now back to that dough! Separate into 2-3 portions. Put the dough you aren’t actively working on back in the fridge. Flour your counter and roll out until its about 1/8 of an inch thick. Use a biscuit cutter that’s about 4 inches across (I used a glass and cut around it) Grease a muffin pan and place your dough rounds in each cup. If you’re a slow cutter/its warm, place your muffin pan in the fridge while you work.
Now whisk up your filling and pour just over half way up for each cup. Do not overfill/spill. It will be a mess and is not gonna be a fun time. I have 2 – 6 cup muffin pans so I placed them on a cookie tray in case of any spillage/stability. Bake for 25 minutes and let cool for 5 minutes before removing and placing on a cooling rack.
Let these cool or they will be like fucking lava in your mouth. You’ve been warned!
These were so delicious and I’ve never been happier to send things to work with my wife. They were all gone before lunch 😉
Holy crap..what a week. Here’s the recipe and then we’ll jump into the rest.
1 jar macapuno balls (I used strings) 1 jar nata de coco 1 jar kaong 1 can (20 oz.) pineapple chunks (I didn’t add the additional pineapple but I should have) 2 cans (30 oz.) fruit cocktail 1 pack Nestle All purpose cream/or heavy cream (I used the heavy cream since I couldn’t find all purpose) 1 block (8 oz.) Philadelphia cream cheese, room temperature
Additionally, you may wish to add sweetened condensed milk to taste if you’d like it sweeter. I didn’t add any since I found it perfectly sweet on its own.
This week has been a hectic one. Trying to get back on track after the holidays..case in point, I’m editing and posting on the same day. I try to never do that because, well it’s a lot. To make things worse, I pinched a nerve in my shoulder this morning so I literally feel like I’m being stabbed in the back. Fun times.
I’m trying to get this food blog/ recipe center back on track as it’s been sadly neglected in the last couple of weeks. Please be patient with me haha
Anywho, back to the recipe. This is super simple to throw together provided you can find the ingredients you need. I had to hunt a little but it led to the discovery of my new favorite grocery provider so it’s not all bad.
I highly recommend this one. Its easy to follow and nearly impossible to fuck up. I will say I was a little concerned this would be overly sweet with the sweetened condensed milk, but it’s honestly perfect.
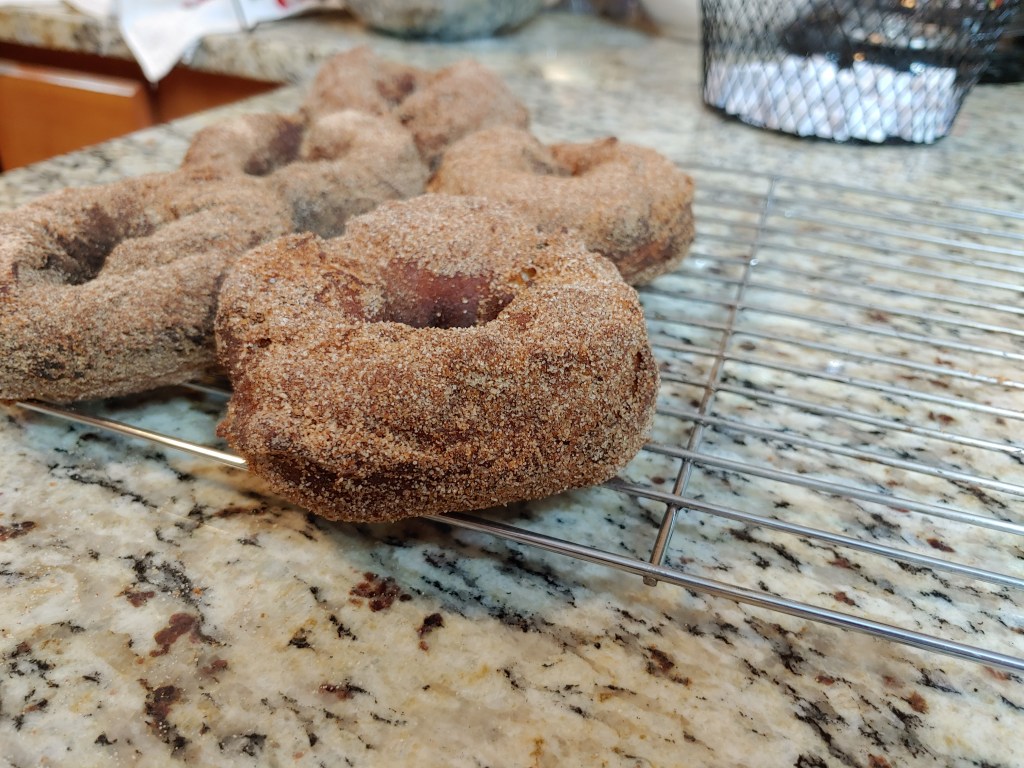
Holy delicious, Batman! Let me preface this by saying: I don’t really like donuts. Okay, now that’s out of the way…this week, I made donuts!
These are absolutely the best donuts I’ve ever put in my mouth. I was extremely grateful that my wife took them to work because me and my jeans would have been in serious trouble…
I did change it a little. Instead of rolling the cooked donuts in sugar, I did cinnamon/sugar. I highly recommend this as the cinnamon plays really well with the cardamom.
Seriously, make these. You will NOT be sorry. . unless you’re on a diet.
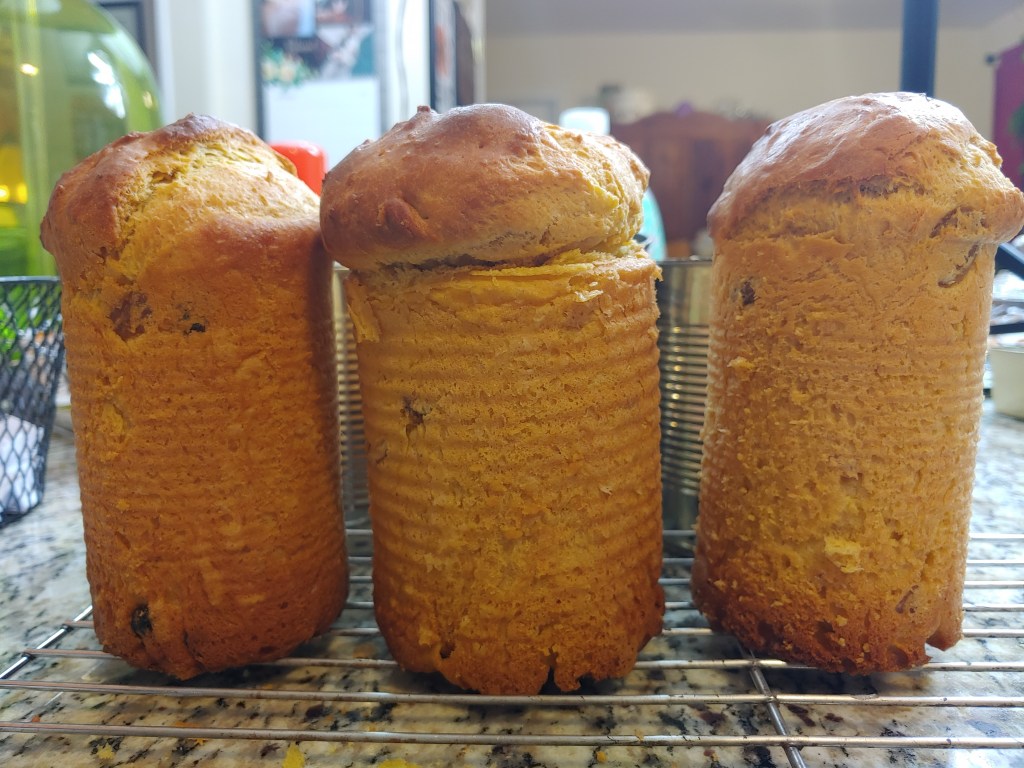
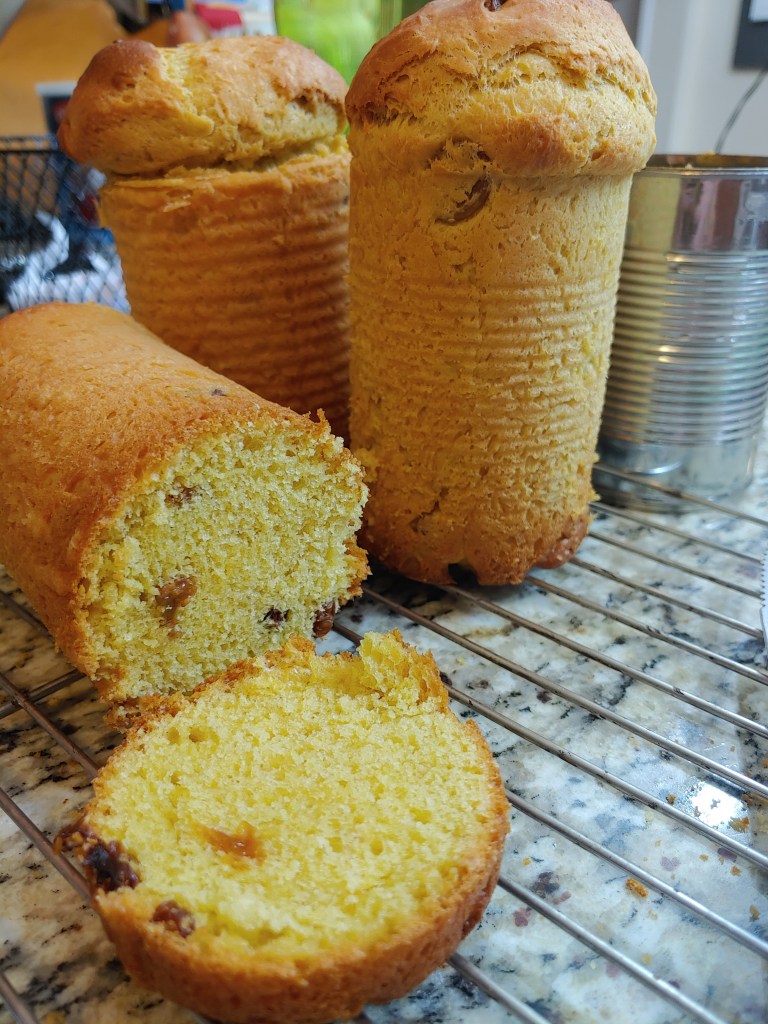
One thing to note is that it doesn’t say to add the milk in the instructions, but you should add it in with the “sponge”
Overall this was a pretty easy recipe and despite the goof with the milk, I think it turned out wonderfully. It was also weirdly fun making something in trash. Cans that were otherwise destined for the recycling got another shot at life. Its very important to note that you don’t want to use cans with a plastic lining..no bueno in the cooking process.
This has been a crazy week. My wife had a hysterectomy and I’ve been trying to take care of everything around the house and making sure she’s happy and comfortable while still trying to keep up with my little project, which admittedly has seemed pointless with everything going on. Add in the fact that I’m having a particularly bad bout of shitty self-image while I’m trying to edit a video and well..we’re just feeling fucking peachy.
Onwards and upwards though. I know not many people see any of my efforts in my projects, but at the end of the day, I do it because its something I’ve always wanted to do. So, in my shittiest moods when all I want to do is give up and say “what’s the point?” I try to remind myself that I’m doing it for me.
A few pointers….don’t re-roll your dough. You’ll end up with something hard to roll out and ultimately will ruin your pastry. Learn from my dumbass mistakes, children. .
The custard went off without a hitch. Delicious. 10/10
Since these tarts are typically cooked in an 800F oven and home ovens usually don’t go much passed 500F its a little bit dicey. I tried a combo of the 500F oven and the broiler. *Spoilers* the fire alarm was set off 3 times and I have to clean my oven due to some butter spillage.
Definitely the most challenging thing I’ve made yet and I’m sad to say it defeated me a little. I will definitely try these again though because the custard was very good.
If you’d like to watch the shitshow, watch below 🙂
2 teaspoons of corn starch (sifted to ensure no lumps)
1/2 Tablespoon lemon juice
1/12 Tablespoon vanilla extract
For the whipped cream:
1 1/2 cups heavy whipping cream
2 Tablespoons sugar (granulated)
optional: splash of vanilla extract
Fruit or whatever else you wish to add. I used kiwis and blueberries and the kiwis added just the right amount of tartness to cut the sweetness of the pavlova. (highly recommend)
This recipe is definitely more about technique than anything else since the ingredients are pretty simple. There’s not much room for experimenting here unless its with your toppings.
The key is low and slow. Preheat your oven to 225 F
You can either line a baking tray with parchment paper or like me, a silicone baking mat. I had mixed results when I was trying to research which I should use, but my silicone didn’t fail me 🙂
Aside from technique, you need patience. I would HIGHLY recommend using a stand mixer but a hand mixer will work as well. I definitely wouldn’t suggest someone do this manually. You’ll start by whipping your egg whites until soft peaks form. For me, I whipped it until it was passed the foamy stage. Then slowly add in your 1 1/2 cups sugar. Slowly. This is where the patience starts to come in. Once all your sugar is added, you’ll continue to whip until you get stiff peaks which will be a good 10 min or so.
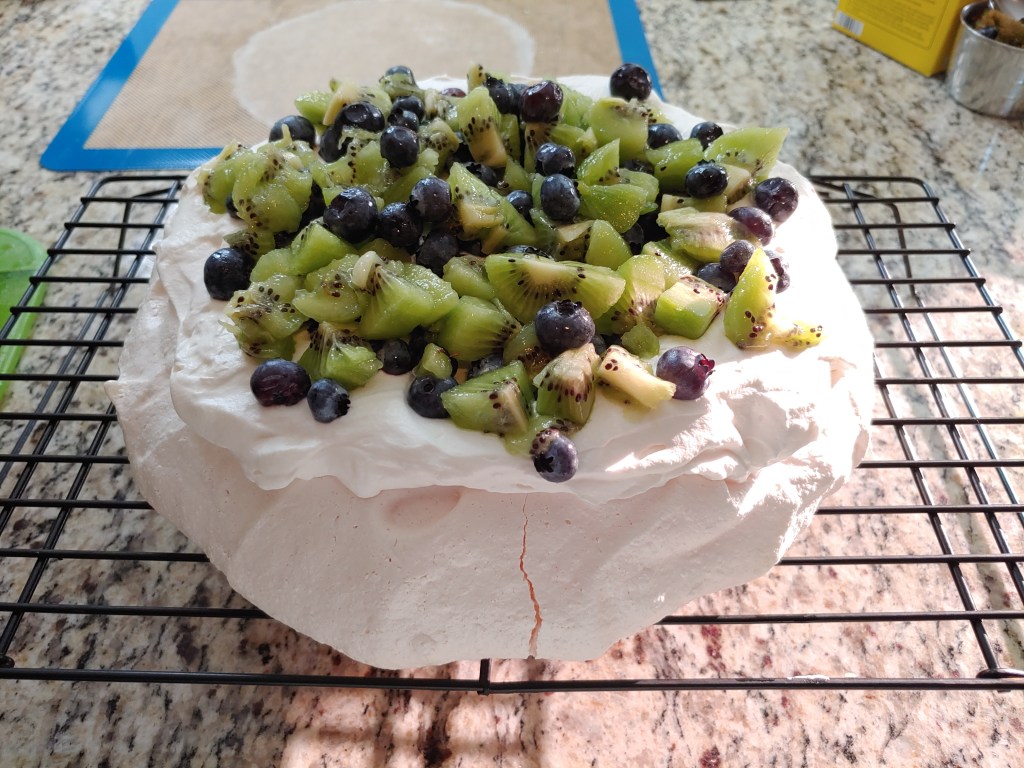
Once you’ve reached stiff peaks, get out a spatula because the rest of this is manual. Add your lemon juice, and vanilla and gently fold to incorporate. Now sift in the cornstarch and gently mix it in. Now, you can certainly pipe your mixture onto your baking mat/parchment or you can do as I did and just plop it on there. I kind of shwooped up the sides to make some peaks and just ensure there’s a little bit of a well in the center. (that’s where your whipped cream/fruit will go later)
Now just pop that bad boy in the oven and forget about with for an 1 hour and 15 minutes. DO NOT OPEN THE OVEN. Just leave it be. Once that time has elapsed, turn off your oven. KEEP THE OVEN CLOSED. Leave it until the oven has completely cooled. We’re talking several hours or even overnight. It will be fine. The longer you leave it, the less cracking you’ll have.
Once everything has cooled. Seriously, all the way cooled. Go ahead and make your whipped cream and cut up your fruit as needed.
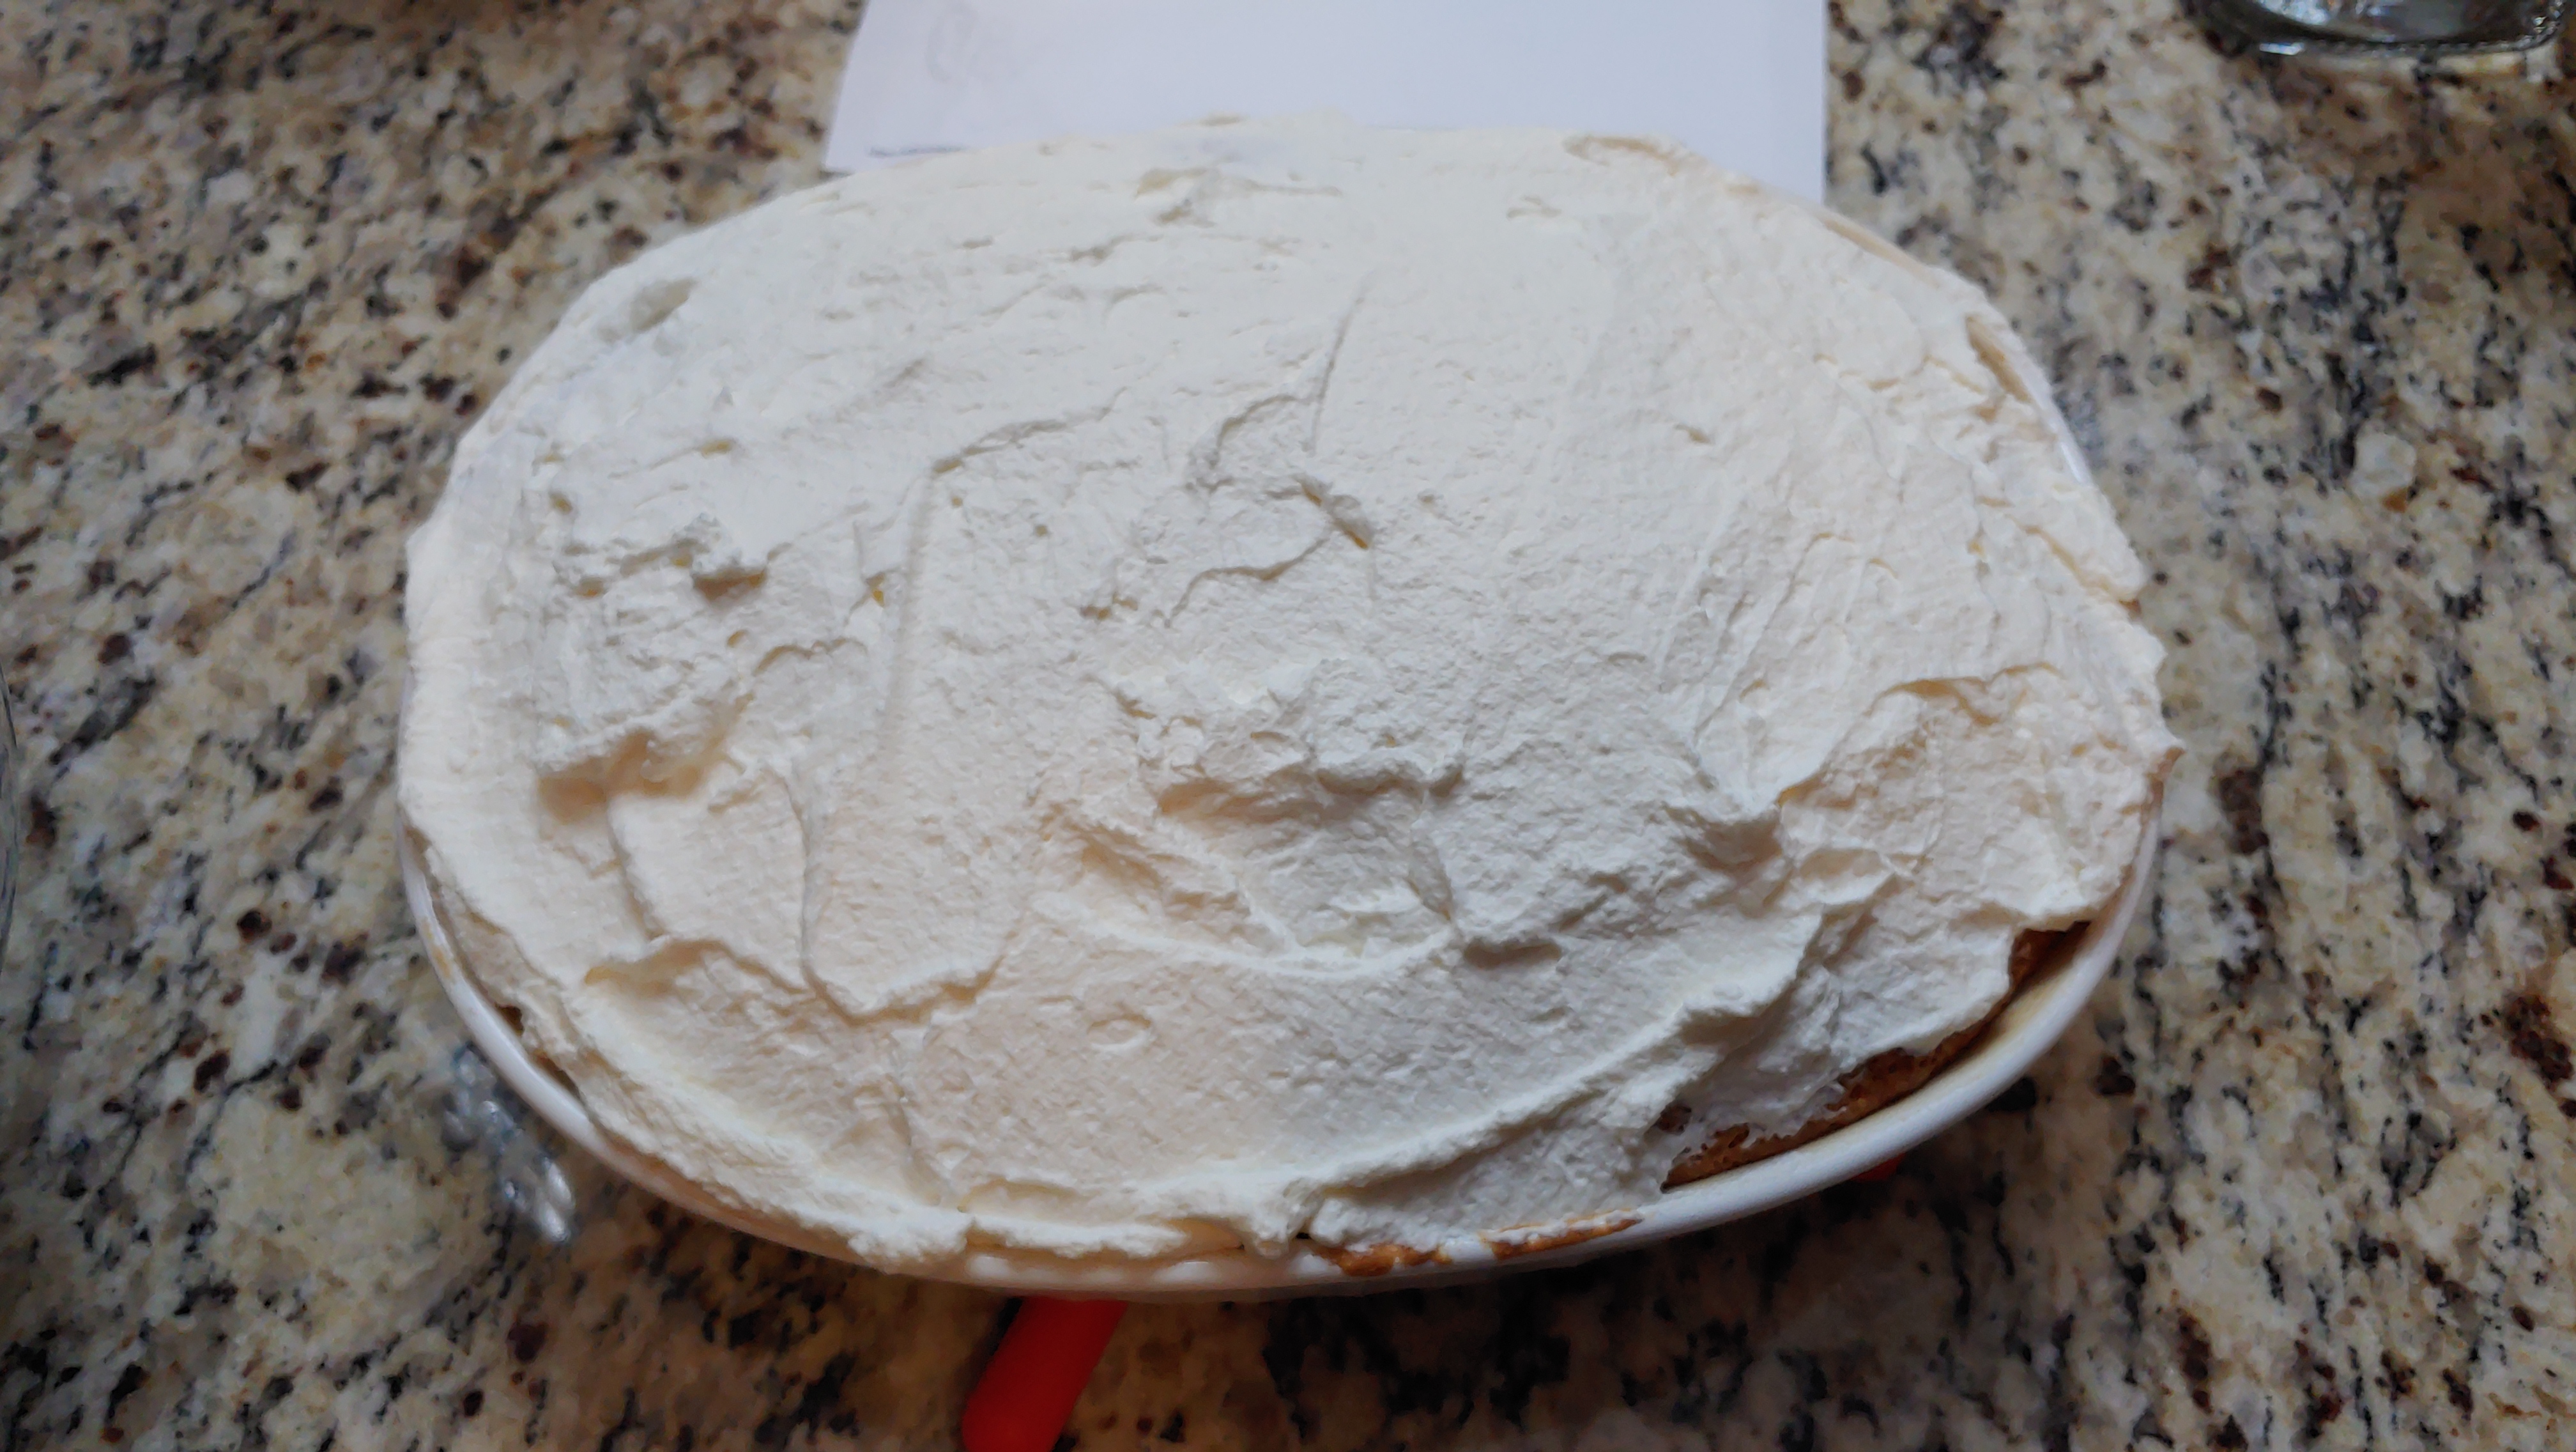
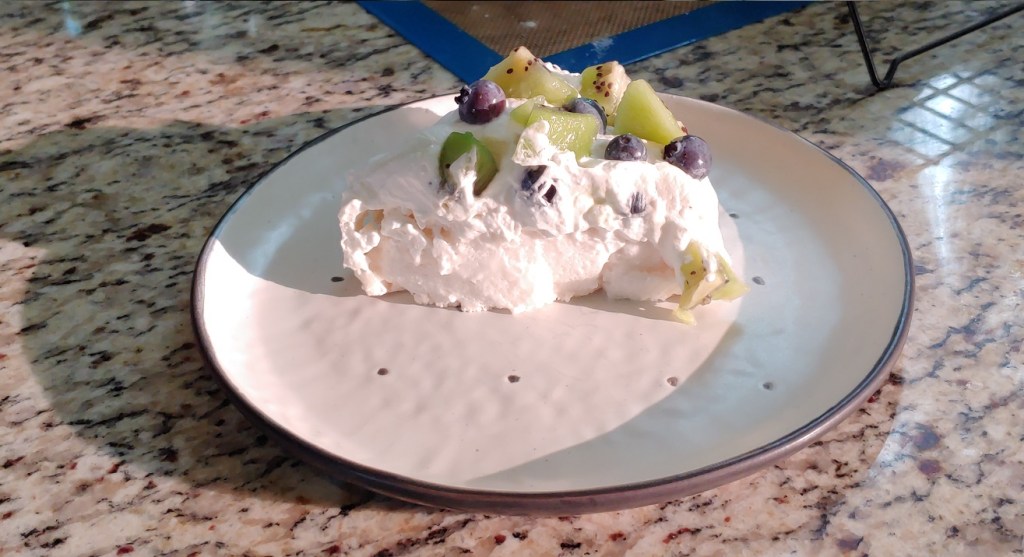
I would recommend transferring the pavlova to whatever you wish to serve it one since I didn’t do that and well…that was a mistake. Add your whipped cream and fruit to the top of your pavlova and voila!
Once you’ve added the toppings, you have to eat within a few hours. Your pavlova will lose its crispiness if you put it in the refrigerator. I didn’t know this until I made it…I still put the leftovers in the fridge, I even put some in the freezer as an experiment. I’ll let you know how that goes..
This was the first time I’ve ever tried Pavlova (making and eating) and it did not disappoint. The textures are amazing. Nice crisy shell and that soft, pillowy center. *chefs kiss*
Start by peeling and slicing your apples. In your mixer place your eggs and sugar and beat until fluffy (about..10 minutes) add in your flour gradually and mix until just combined. If you want to add vanilla you can, but the original recipe doesn’t call for it.
Butter your pan (I used a springform) you need something that’s fairly deep. Put half of your batter in the pan, then add your apples. Sprinkle with cinnamon and if you wish, add nuts. Then top with the rest of your batter and bake for 40 minutes.
Super simple. Let it cool and then slice and enjoy 🙂
If you’d like to be a little extra like myself, why not have a drink or two…
Moscow Mule Ingredients
1 1/2 oz vodka
1 tsp lime juice
ginger beer ~4 oz (or whatever your tastes are)
optional: candied ginger
Traditionally served in a copper cup, start with about half of your cup full of crushed ice. Add vodka, lime, and ginger beer. Stir, drink, enjoy.