50/50 Week 26: Argentina Rogel Torta

Ingredients:

For the dough

  • 3 cups sifted flour
  • 3 Tbs sugar
  • 2 eggs
  • 7 egg yolks
  • 3 Tbs water
  • 2 Tbs almond liquor
  • 5 Tbs unsalted butter(room temp)

For the filling

  • 20 oz. dulce de leche (I tried to make my own, I recommend going the sweetened condensed route because the from scratch way took for fucking ever)

For the meringue

  • 6 Tbs water
  • 1½ cup sugar
  • 5 egg whites

In a large bowl, add the flour. Dig a well in the center of the flour and add the sugar, egg yolks, whole eggs, water, almond liquor and soft butter. Mix until smooth. Cover the dough with plastic wrap and let stand for 15 minutes at room temperature. Preheat oven to 320F

Roll out the dough very thin. Very. 2mm thin. Standard Rogel is made in 8-10 inch discs. I personally decided to make miniature versions so I used a biscuit cutter.

This is where is gets time consuming. If you choose to make the standard size, you basically have to bake the discs one at a time. 8 times. Prick your discs with a fork before baking on parchment lined baking trays. Bake for about 10-15 minutes until golden.

For the meringue, combine your water and sugar in a saucepan. Gently boil until you reach 250-265F Use a wet pastry brush to prevent sugar crystals from forming on sides of pan. When you get to 230F start whipping your egg whites until they reach firm peaks. Once you reach 250, turn your stand mixer to low and gradually add your syrup to your egg whites. DON’T TOUCH THE WHISK ATTACHMENT! Once your syrup is added, increase mixer speed to high and mix for 10 minutes. Feel the sides of your bowl to make sure its cool before you stop mixing.

Transfer to pastry bag for later.
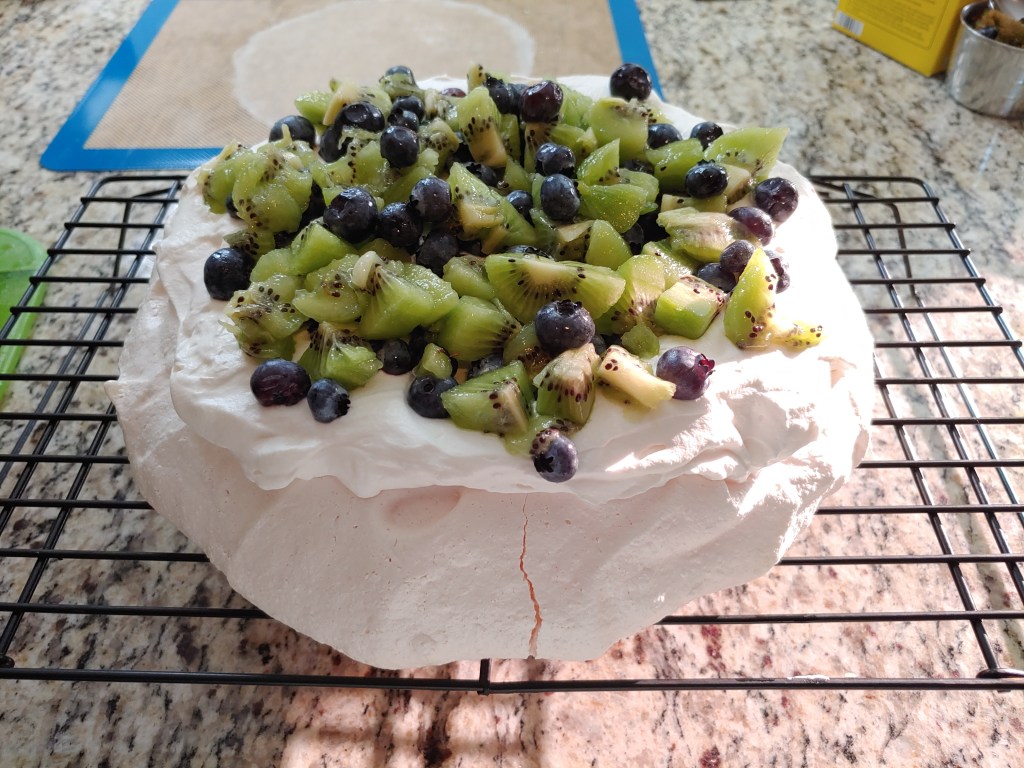
Avengers Assemble!

Place a disk on your serving tray and spread a tablespoon of dulce de leche evenly (more if you like more) place the next disk on top and repeat until you run out of disks. The top disk shouldn’t have dulce de leche on top. Instead you’ll pipe your meringue on top. If you’re fancy, blowtorch the meringue lightly.

50/50 Week 1: Pavlova

Ingredients are pretty simple here 🙂

For the pavlova:

  • 6 egg whites
  • 1 1/2 cup sugar (granulated, not powdered)
  • 2 teaspoons of corn starch (sifted to ensure no lumps)
  • 1/2 Tablespoon lemon juice
  • 1/12 Tablespoon vanilla extract

For the whipped cream:

  • 1 1/2 cups heavy whipping cream
  • 2 Tablespoons sugar (granulated)
  • optional: splash of vanilla extract

Fruit or whatever else you wish to add. I used kiwis and blueberries and the kiwis added just the right amount of tartness to cut the sweetness of the pavlova. (highly recommend)

This recipe is definitely more about technique than anything else since the ingredients are pretty simple. There’s not much room for experimenting here unless its with your toppings.

The key is low and slow. Preheat your oven to 225 F

You can either line a baking tray with parchment paper or like me, a silicone baking mat. I had mixed results when I was trying to research which I should use, but my silicone didn’t fail me 🙂

Aside from technique, you need patience. I would HIGHLY recommend using a stand mixer but a hand mixer will work as well. I definitely wouldn’t suggest someone do this manually. You’ll start by whipping your egg whites until soft peaks form. For me, I whipped it until it was passed the foamy stage. Then slowly add in your 1 1/2 cups sugar. Slowly. This is where the patience starts to come in. Once all your sugar is added, you’ll continue to whip until you get stiff peaks which will be a good 10 min or so.

Once you’ve reached stiff peaks, get out a spatula because the rest of this is manual. Add your lemon juice, and vanilla and gently fold to incorporate. Now sift in the cornstarch and gently mix it in. Now, you can certainly pipe your mixture onto your baking mat/parchment or you can do as I did and just plop it on there. I kind of shwooped up the sides to make some peaks and just ensure there’s a little bit of a well in the center. (that’s where your whipped cream/fruit will go later)

Now just pop that bad boy in the oven and forget about with for an 1 hour and 15 minutes. DO NOT OPEN THE OVEN. Just leave it be. Once that time has elapsed, turn off your oven. KEEP THE OVEN CLOSED. Leave it until the oven has completely cooled. We’re talking several hours or even overnight. It will be fine. The longer you leave it, the less cracking you’ll have.

Once everything has cooled. Seriously, all the way cooled. Go ahead and make your whipped cream and cut up your fruit as needed.

I would recommend transferring the pavlova to whatever you wish to serve it one since I didn’t do that and well…that was a mistake. Add your whipped cream and fruit to the top of your pavlova and voila!

Once you’ve added the toppings, you have to eat within a few hours. Your pavlova will lose its crispiness if you put it in the refrigerator. I didn’t know this until I made it…I still put the leftovers in the fridge, I even put some in the freezer as an experiment. I’ll let you know how that goes..

This was the first time I’ve ever tried Pavlova (making and eating) and it did not disappoint. The textures are amazing. Nice crisy shell and that soft, pillowy center. *chefs kiss*

10/10 would recommend