50/50 Week 24: Japanese Soufflé Cheesecake

Everything should be room temperature!

Ingredients:

  • 5 eggs
  • 1/4 tsp cream of tartar
  • 1/2 cup sugar, divided
  • 8 oz cream cheese
  • 1/2 cup milk
  • 1/4 cup unsalted butter
  • 1 Tbsp lemon juice
  • 1/4 cup AP flour
  • 2 Tbsp corn starch

8 inch cake pan (you’ll want it to be decently deep)

Line the bottom and sides of your pan with parchment paper. If you’re like me though..and you ran out, just butter like hell and hope for the best. If you’re using a spring form pan, wrap the outside with several sheets of foil to ensure its sealed completely.

Fill a large baking pan halfway with water and place in the lowest rack of your oven. Preheat to 315F

Separate all of your eggs and place the whites in a mixing bowl and the yolks in a small bowl. Beat your egg whites on low for 30 seconds until foamy. Add cream of tartar and increase speed to medium and beat until whites start to thicken. Add 1/4 cup of sugar gradually. Beat until whites reach soft peaks~about 3 minutes

In a separate bowl, mix milk and cream cheese on low speed unitl creamy and smooth. Add butter, remaining sugar, and lemon juice, mix. Sift in your flour and corn starch and mix for another minute. Add your egg yolks and mix. Push your batter through a sieve to make sure you don’t have any clumps.

Add 1/3 of your eggs whites and gently fold into the batter. Continue adding and gently folding in the rest of your mix.

Pour into your pan and spread batter evenly on top. Very gently tap your pan on the counter to get out any big air bubbles.

Place your pan in the water bath and bake for 1 hour and 10 minutes. Check with a toothpick. If it comes out clean, its done, but you may need to cook an additional 10 minutes or so. Once its done, turn off your oven and leave the door cracked. Leave your cake in the cooling oven for another hour.

Gently remove your cake from its prison and refrigerate for at least 4 hours.

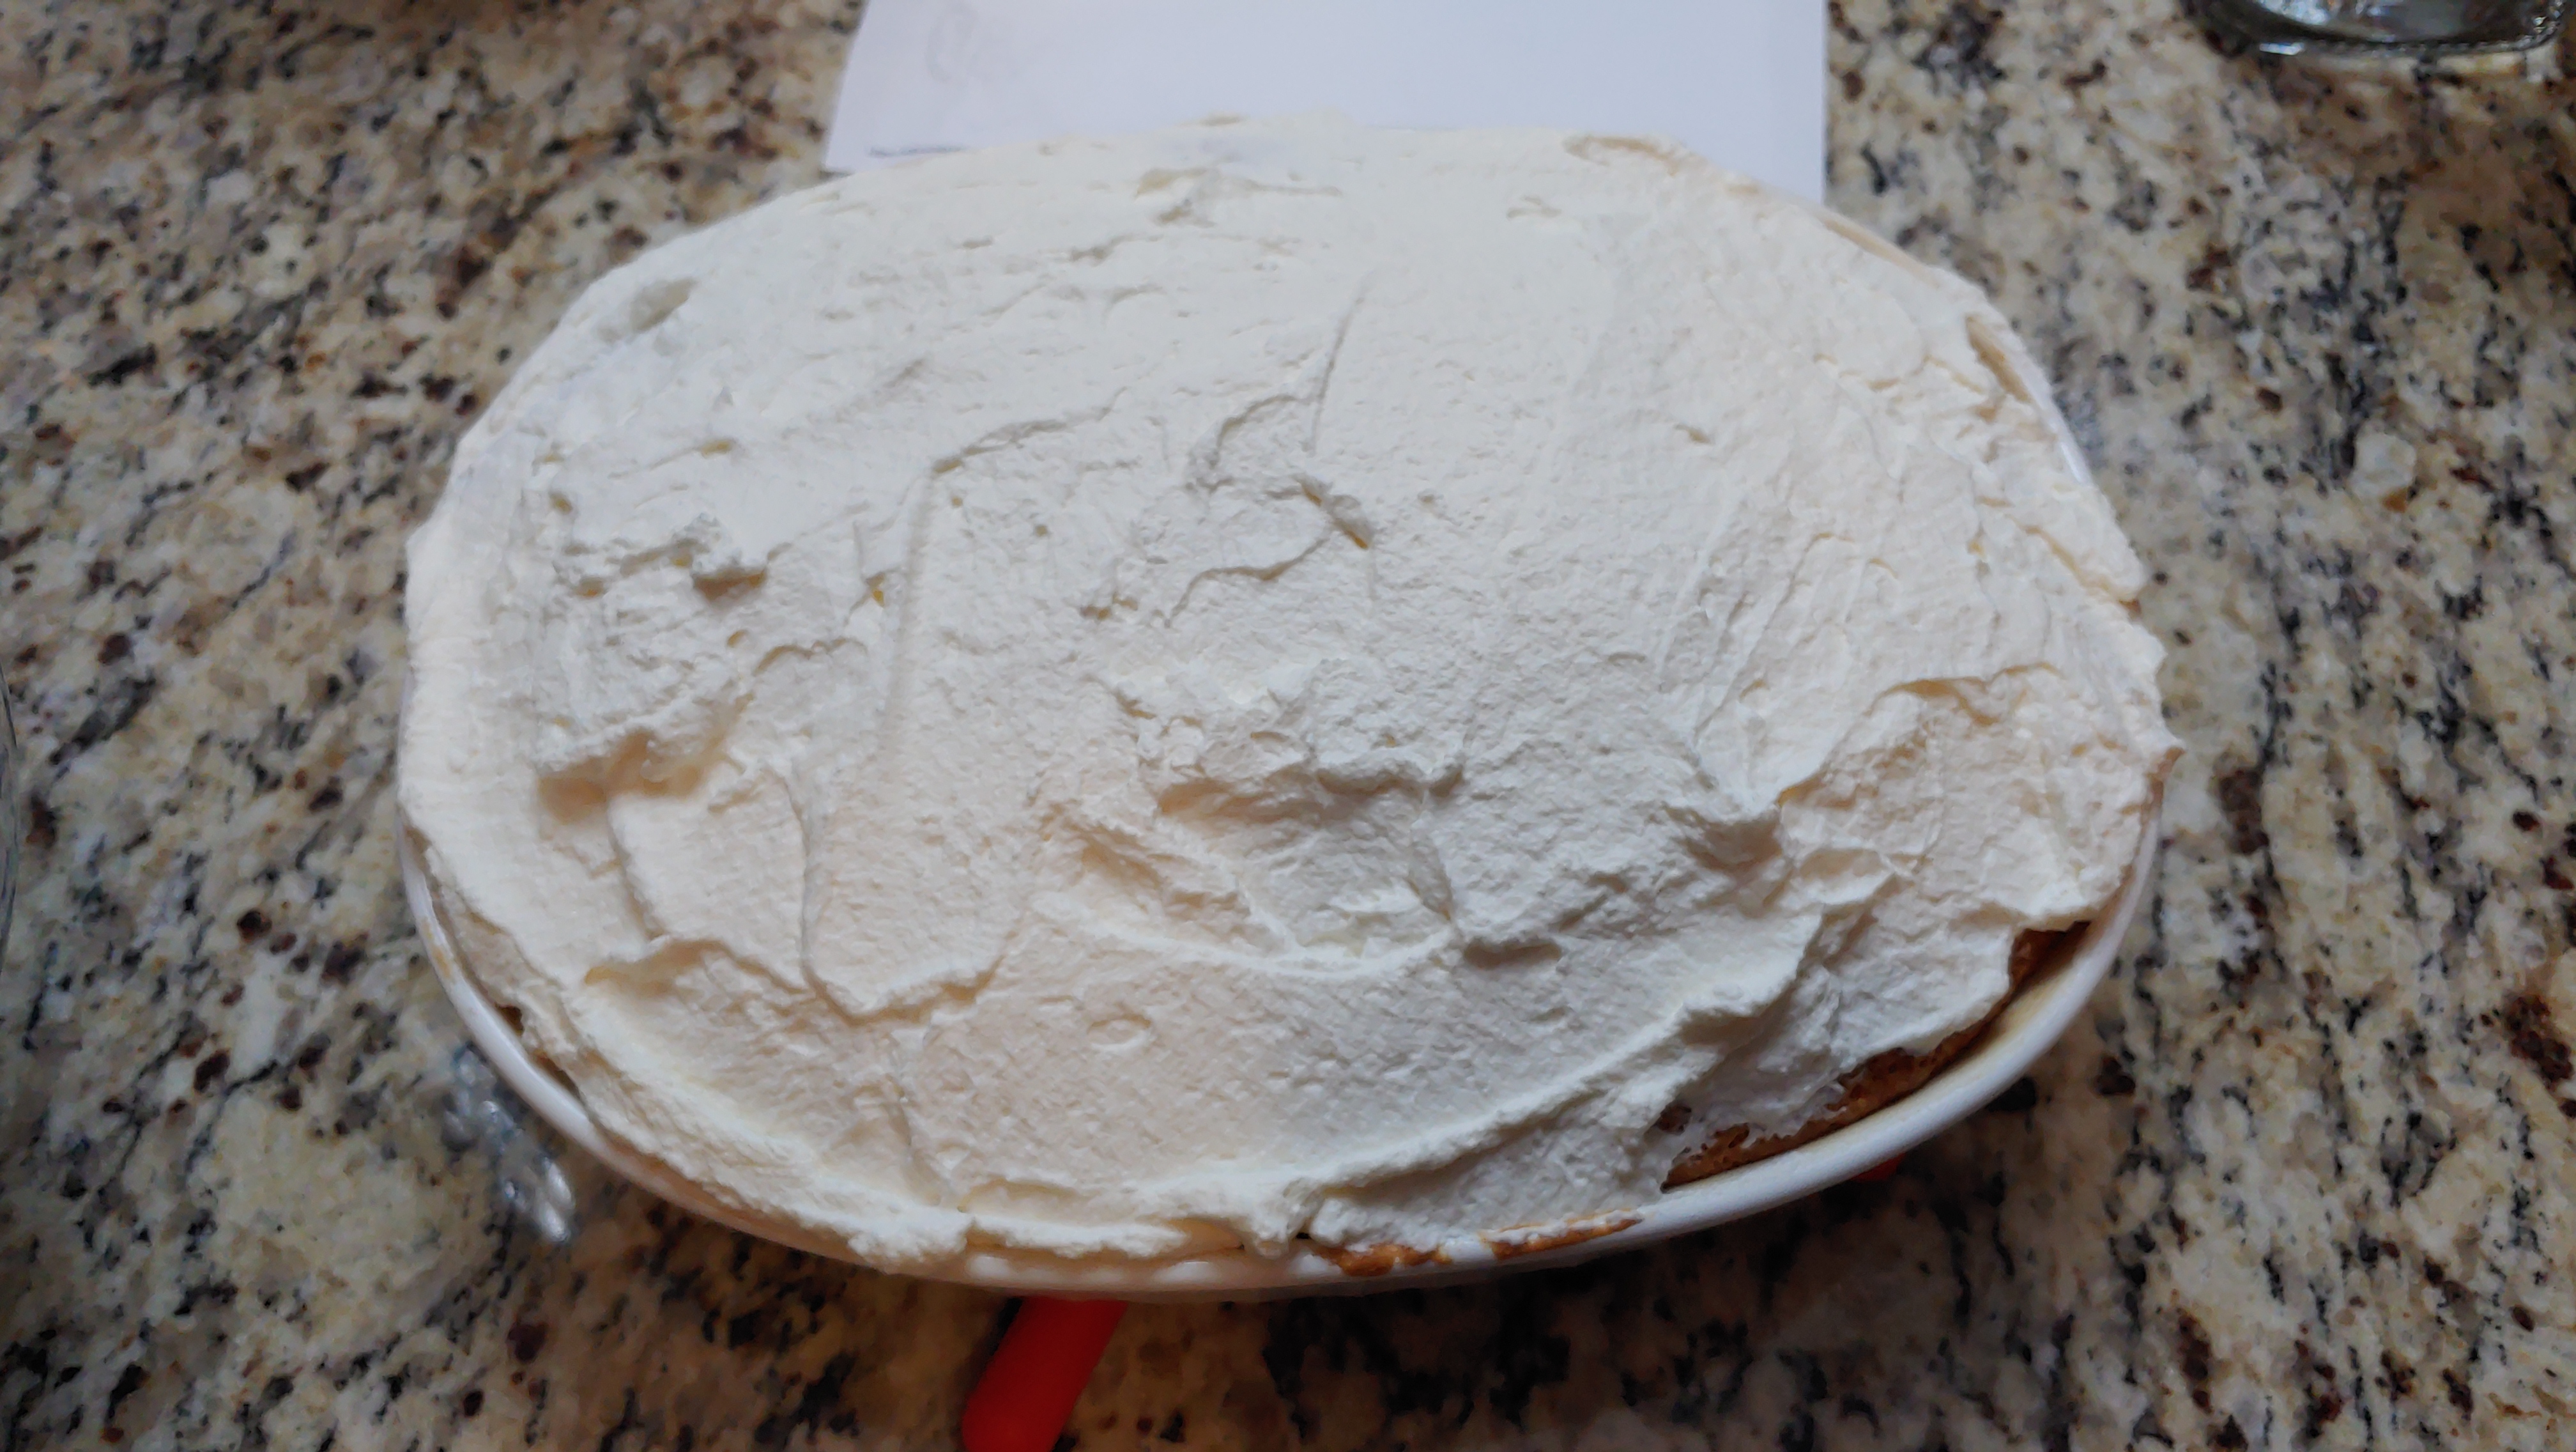
Optional: take about a tablespoon of honey and put in microwave for a few seconds to thin it out and brush it over the top of your cheesecake. Simple addition and so so yummy!

50/50 Week 23: South Africa Tameletjies

This was a super fail on my part. I got excited and forgot to take it off the heat. Sugar pounces on weakness.

Ingredients:

  • 500g brown sugar
  • 250ml water
  • 125g butter
  • 2ml vanilla
  • 1 cup nuts ( traditionally pine nuts but I used what I had, which was pecans)

Dissolve sugar and water over low heat, add butter. Boil steadily without stirring until the miture starts frothing, test a drop in cold water to see if it hardens. Once it passes that test, REMOVE FROM HEAT. Then add your vanilla and your chopped nuts, stir. Pour into a shallow, well-greased pan and park off squares with a wet knife. Let cool and then break into squares.

Tameletjie is supposed to be like a nut brittle. I made…a disaster. Good luck!

50/50 Week 22: New Zealand Jelly Slice

Ingredients

  • 2 packs of strawberry jell-o
  • 3 cups boiling water
  • 1 packet (250g) superwines or any plain sweet biscuit
  • 175g melted butter
  • 2 Tbs gelatine
  • 1/2 cup boiling water
  • 1 can of sweetened condensed milk
  • juice of 1 lemon

Hooray for no-bake desserts! I’m not going to lie, initially when I was reading about this dessert it struck me as that weird jell-o pretzel dessert that shows up at every redneck cook-out. After tasting it though, its so much better!

Line your desired dish with parchment paper and set aside. Grind up your biscuits in a food processor and combine melted butter and optionally, the zest from a lemon. (I highly recommend bc its delicious) Press into your dish to form the crust and place in fridge for 30 minutes to chill

In a medium bowl, combine gelatine and 1/2 cup boiling water and mix until dissolved. Add the sweetened condensed milk and lemon juice and mix well. Pour over the crust and place back in the fridge for 30-40 minutes until completely set.

Mix your jell-o with the 3 cups of water and let cool- don’t let it set. Pour it on top of your milky layer and then place back into the fridge until set.

Once its all set up, slice into squares and serve. It can be easier if you use a hot knife, but I think that depends on the pan you’re using.

Keep leftovers in a sealed container in the fridge, though, I don’t think leftovers will be much of a problem.

50/50 Week 21: Morocco Seffa Medfouna

A literal mountain of food! Delicious, delicious food.

For the Seffa:

  • 2 pounds of dry broken vermicelli
  • 3 Tbs vegetable oil
  • 2 tsp salt
  • 1 cup golden raisins, soaked in water for 20 minutes
  • 4 Tbs butter
  • 1 cup powdered sugar

For the Saffron Chicken

  • 1 whole chicken, disassembled
  • 2 large onions chopped
  • 1 Tbs ground ginger
  • 1 tsp white pepper
  • 1/2 tsp black pepper
  • 2 small sticks of cinnamon
  • 1 tsp saffron threads, crumbled
  • 1 tsp turmeric
  • 1 1/2- 2 tsp salt- to taste
  • 4 Tbs butter
  • 1/4 cup olive oil
  • 1/4 cup chopped cilantro

Toppings

  • 1/2 – 1 cup almonds (blanched, fried & ground)
  • 1 cup powdered sugar
  • 2 Tbs ground cinnamon

I will warn you that this is time consuming. Not a casual weeknight meal, definitely a special occasion- lots of people over- type meal.

I bought an instant pot for this haha If you have a steamer, you’re good. I’ve had so many recipes that require a steamer and I made due, but for this recipe in particular, I knew I needed to bring out the big guns.

Fill the base of your steamer with salted water and proceed to steam the broken vermicelli 4-5 times (add the raisins for the 4th steaming)

For exactly how to do the steaming process, go here: https://www.thespruceeats.com/how-to-make-seffa-medfouna-2395009

Mix the chicken, lamb or beef with the onions, spices, butter, oil and cilantro in a Dutch oven or heavy-bottomed pot. Gently brown the chicken over medium heat for about 10 minutes. Cover the pot and cook over medium heat, stirring occasionally, until the meat is very tender. This will take about 1 hour. When the chicken has been cooked, reduce the liquids until a thick sauce has formed. Discard the cinnamon stick, and taste for seasoning. If desired, remove the chicken from the bones.

To Serve:

Gently toss the steamed broken vermicelli with the butter and powdered sugar. Place about 1/3 of this mixture on a very large serving dish. Arrange the chicken in the center, and cover with the sauce. Pile the rest of the vermicelli on top of the meat, using your hands to shape a dome.

Decorate the mound of seffa in a vertical pattern with the cinnamon, ground almonds and powdered sugar. Serve immediately, with small bowls of powdered sugar, ground almonds, and cinnamon on the side.

50/50 Week 20: Egyptian Jalebi

Batter

  • 3 cups AP Flour
  • 2 cups plain greek yogurt (original recipe calls for hung curd, but greek yogurt is a good substitution)
  • 1/2 cup ghee
  • 1/2 cup corn starch
  • 1/2 tsp baking soda

2 cups of oil for frying

Syrup

  • 3 cups sugar
  • 3 cups water
  • 5 strands of saffron
  • 1/2 tsp cardamom
  • 4 drops rose essence

So first things first, this isn’t a one day recipe. You need to let the batter ferment over night. Mix AP flour, cornstarch, and baking soda together in a bowl. Add ghee, food coloring, yogurt, and water. I didn’t list the water in the ingredients because you’ll add it little by little until you reach a slightly flowing consistency. Cover the bowl in a towel and let sit for 8-10 hours on the counter.

For the sugar syrup, heat water in a pan over medium heat. Add sugar and stir until fully dissolved. Simmer the syrup until it reaches one string consistency. ( I didn’t know what this means so I messed up this step and had to redo it) One string consistency is reached when you put a little of the syrup between your fingers and there’s a “string” when you pull your fingers apart. Remove from heat and add saffron, cardamom, and rose. Stir well

Now time to fry!

Heat your oil over medium heat until you’re about 350-365F

Put your batter in a ziplock bag and snip a small hole in the corner. Moving from the inside-out you want to make concentric circles in the oil with your batter. This will take a few tries to look right. Practice makes perfect and all that.. Fry a few minutes on either side until they’re crisp and golden.

Your syrup should be warm, but not hot. When your jalebis are done frying, soak them in the syrup for 2-3 minutes and place on a foil lined tray. They should be served warm or at room temperature.

I will warn you that this makes A LOT of batter. The good news is that it freezes well.

50/50 Week 15: Canadian Butter Tarts

Ingredients:

Crust

  • 2 1/2 cups AP flour
  • 1 T sugar
  • 1 t salt
  • 1 cup cold butter
  • 3/4 cup cold water

Filling

  • 1/4 cup butter (room temp)
  • 1/2 cup brown sugar
  • 2 eggs (room temp)
  • 1 cup maple syrup
  • 1/4 t salt
  • 1 t vanilla extract

This goes super quickly if you use a food processor for the crust. Put your flour, sugar, and salt in and add your cold butter in chunks. Pulse until the butter is in small pieces..about 8 times. Slowly add your cold water and pulse until the dough starts to come together. (It will still be a little crumbly but should hold its shape if you press it together)

Wrap your dough in plastic wrap and pat into a disc. Refrigerate for at least an hour.

While your dough is chilling, work on the filling. HA wow..unintentional rhyme 😅

Using a hand mixer or stand mixer, cream together your butter and sugar. Add eggs one at a time, mixing well between each. Add maple syrup, salt, and vanilla. This will look…well, frankly it will look curdled. Its not, I promise. It makes everything easier if you put your filling in a large glass measuring cup with a pour spout for later. If you make the filling and let it sit for a while until you’re ready to use it, you’ll need to give it a good whisk before using it.

Preheat oven to 350F

Now back to that dough! Separate into 2-3 portions. Put the dough you aren’t actively working on back in the fridge. Flour your counter and roll out until its about 1/8 of an inch thick. Use a biscuit cutter that’s about 4 inches across (I used a glass and cut around it) Grease a muffin pan and place your dough rounds in each cup. If you’re a slow cutter/its warm, place your muffin pan in the fridge while you work.

Now whisk up your filling and pour just over half way up for each cup. Do not overfill/spill. It will be a mess and is not gonna be a fun time. I have 2 – 6 cup muffin pans so I placed them on a cookie tray in case of any spillage/stability. Bake for 25 minutes and let cool for 5 minutes before removing and placing on a cooling rack.

Let these cool or they will be like fucking lava in your mouth. You’ve been warned!

These were so delicious and I’ve never been happier to send things to work with my wife. They were all gone before lunch 😉

50/50 Week 13: Tres Leches Cake

Holey moley me oh my…

I don’t know how I’ve never tried tres leches cake before. *chefs kiss* fucking delicious!

For this episode, I followed this recipe: https://ethnicspoon.com/traditional-tres-leches-cake/

I highly recommend this one. Its easy to follow and nearly impossible to fuck up. I will say I was a little concerned this would be overly sweet with the sweetened condensed milk, but it’s honestly perfect.

50/50 Week 7: Babka Cake

This week, I used this recipe: http://www.feastofstarlight.com/orphan-black-helenas-ukrainian-babka-cake/

One thing to note is that it doesn’t say to add the milk in the instructions, but you should add it in with the “sponge”

Overall this was a pretty easy recipe and despite the goof with the milk, I think it turned out wonderfully. It was also weirdly fun making something in trash. Cans that were otherwise destined for the recycling got another shot at life. Its very important to note that you don’t want to use cans with a plastic lining..no bueno in the cooking process.

This has been a crazy week. My wife had a hysterectomy and I’ve been trying to take care of everything around the house and making sure she’s happy and comfortable while still trying to keep up with my little project, which admittedly has seemed pointless with everything going on. Add in the fact that I’m having a particularly bad bout of shitty self-image while I’m trying to edit a video and well..we’re just feeling fucking peachy.

Onwards and upwards though. I know not many people see any of my efforts in my projects, but at the end of the day, I do it because its something I’ve always wanted to do. So, in my shittiest moods when all I want to do is give up and say “what’s the point?” I try to remind myself that I’m doing it for me.

50/50 Week 3: Pastel de Nata

What a week….

This recipe was challenging to say the least. This is the recipe I followed:

https://leitesculinaria.com/7759/recipes-pasteis-de-nata.html

A few pointers….don’t re-roll your dough. You’ll end up with something hard to roll out and ultimately will ruin your pastry. Learn from my dumbass mistakes, children. .

The custard went off without a hitch. Delicious. 10/10

Since these tarts are typically cooked in an 800F oven and home ovens usually don’t go much passed 500F its a little bit dicey. I tried a combo of the 500F oven and the broiler. *Spoilers* the fire alarm was set off 3 times and I have to clean my oven due to some butter spillage.

Definitely the most challenging thing I’ve made yet and I’m sad to say it defeated me a little. I will definitely try these again though because the custard was very good.

If you’d like to watch the shitshow, watch below 🙂

50/50 Week 1: Pavlova

Ingredients are pretty simple here 🙂

For the pavlova:

  • 6 egg whites
  • 1 1/2 cup sugar (granulated, not powdered)
  • 2 teaspoons of corn starch (sifted to ensure no lumps)
  • 1/2 Tablespoon lemon juice
  • 1/12 Tablespoon vanilla extract

For the whipped cream:

  • 1 1/2 cups heavy whipping cream
  • 2 Tablespoons sugar (granulated)
  • optional: splash of vanilla extract

Fruit or whatever else you wish to add. I used kiwis and blueberries and the kiwis added just the right amount of tartness to cut the sweetness of the pavlova. (highly recommend)

This recipe is definitely more about technique than anything else since the ingredients are pretty simple. There’s not much room for experimenting here unless its with your toppings.

The key is low and slow. Preheat your oven to 225 F

You can either line a baking tray with parchment paper or like me, a silicone baking mat. I had mixed results when I was trying to research which I should use, but my silicone didn’t fail me 🙂

Aside from technique, you need patience. I would HIGHLY recommend using a stand mixer but a hand mixer will work as well. I definitely wouldn’t suggest someone do this manually. You’ll start by whipping your egg whites until soft peaks form. For me, I whipped it until it was passed the foamy stage. Then slowly add in your 1 1/2 cups sugar. Slowly. This is where the patience starts to come in. Once all your sugar is added, you’ll continue to whip until you get stiff peaks which will be a good 10 min or so.

Once you’ve reached stiff peaks, get out a spatula because the rest of this is manual. Add your lemon juice, and vanilla and gently fold to incorporate. Now sift in the cornstarch and gently mix it in. Now, you can certainly pipe your mixture onto your baking mat/parchment or you can do as I did and just plop it on there. I kind of shwooped up the sides to make some peaks and just ensure there’s a little bit of a well in the center. (that’s where your whipped cream/fruit will go later)

Now just pop that bad boy in the oven and forget about with for an 1 hour and 15 minutes. DO NOT OPEN THE OVEN. Just leave it be. Once that time has elapsed, turn off your oven. KEEP THE OVEN CLOSED. Leave it until the oven has completely cooled. We’re talking several hours or even overnight. It will be fine. The longer you leave it, the less cracking you’ll have.

Once everything has cooled. Seriously, all the way cooled. Go ahead and make your whipped cream and cut up your fruit as needed.

I would recommend transferring the pavlova to whatever you wish to serve it one since I didn’t do that and well…that was a mistake. Add your whipped cream and fruit to the top of your pavlova and voila!

Once you’ve added the toppings, you have to eat within a few hours. Your pavlova will lose its crispiness if you put it in the refrigerator. I didn’t know this until I made it…I still put the leftovers in the fridge, I even put some in the freezer as an experiment. I’ll let you know how that goes..

This was the first time I’ve ever tried Pavlova (making and eating) and it did not disappoint. The textures are amazing. Nice crisy shell and that soft, pillowy center. *chefs kiss*

10/10 would recommend